Owning a home requires regular maintenance and learning about the ins and outs of the home. You never know when something is going to go awry and cause some issues with the inner workings of the home. It is important to know how to maintain your home. For example, knowing how to adjust the water pressure in your home is a possibility if you understand how. Wondering how to adjust the water pressure regulator? Locate the water pressure regulator and then follows the steps provided by the manufacturer.
Let’s look below at what a water pressure regulator is and how to adjust it.
What Is It?
Water pressure regulators are also known as pressure-reducing valves or PRV. The purpose of this unit is to reduce the water pressure entering your home. Once the water enters your home from the main water line, the pressure is very high. If the water pressure is too high your pipes and water-reliant appliances will break down over time. The pressure-reducing valve allows your plumbing and appliances to avoid major damage.
What Tools Do I Need?
Just like with any project, tools, and equipment are often needed. This project is no different. Let’s take a look below at what those tools are.
- Wrench
- Screwdriver
- Pliers
- Pressure Gauge (possibly)
How Does It Work?
The water pressure regulator valve contains a spring and a diaphragm. Water travels through both of these items before getting to your home. Municipal water supply will be pushed through your water supply line based on a pounds per square inch requirement. The job of the water pressure regulator is to reduce the home’s water pressure buildup on your plumbing.
What Are The Steps To Adjust The Water Pressure Regulator?
It is important to follow the steps the manufacturer recommends to adjust your water pressure regulator. Doing this incorrectly could pose some bigger plumbing issues down the road. Let’s take a look at the recommended steps.
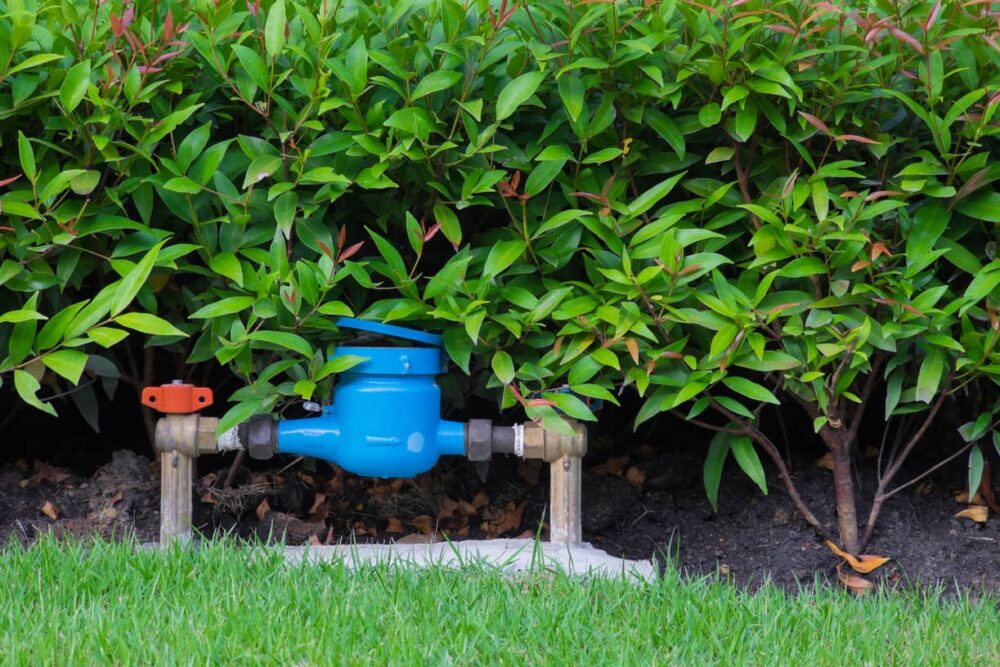
- Find the water supply line – Finding the main supply line allows you to identify where the water meter is located.
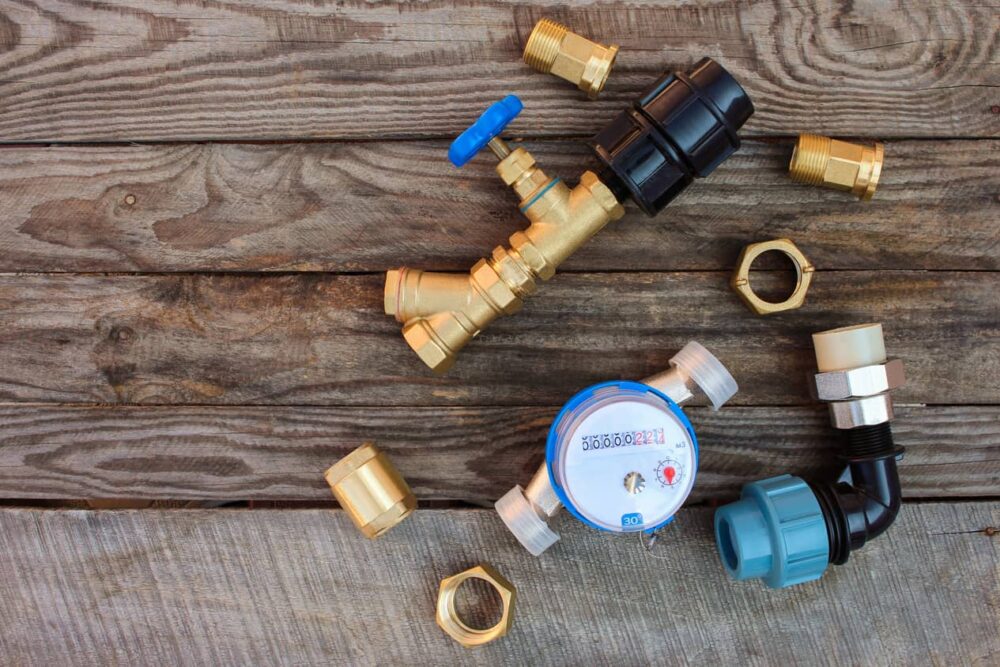
- Find the pressure valve – The valve will be next to the water meter. The valve is made of brass material and has a bell-shaped mid-section. Additionally, the valve has a medium-sized screw at the tip of the bell shape. Double-check to ensure the main water supply line has the correct water pressure before adjusting the pressure valve.
- Screw adjustment – Loosen the locknut from the pressure valve adjuster. Once you have loosened the locknut you can adjust the screw as needed to adjust the water pressure. Tighten the lock nut to increase the water pressure higher. Loosening the locknut reduces the water pressure. Turning the screw clockwise will tighten the screw and increase the pressure. Turning the screw counterclockwise loosens the screw and decreases the pressure.
- Slowly tighten the screw – Take your time tightening the screw. You don’t need to go too far or too fast to experience a change in your water pressure. Too much water pressure will cause your toilets to run and possible leaks to form in your plumbing.
- Check the water pressure – Once you have adjusted the screw, go inside and turn on the water faucets. You will notice a change in your water pressure. However, remember that if the water pressure is not changing, you could need a water pressure valve replacement. If this occurs, hire a local master plumber.
- Final steps – Once you are satisfied with your water pressure adjustments, ensure that no leaks are occurring in the home.
Other Recommended Maintenance
Now that you know how to adjust the water pressure regulator you can read up on where your water meter is located. To Identify where the water meter is, need you to locate the water pressure regulator to make your adjustments.
Next, locating your water meter is a definite first step, however, knowing how to read the water meter is just as important. This allows you to determine the correct amount of water pressure needed for your home.
Lastly, if you happen to notice wet drywall, you might want to investigate to determine if you have leaks in your plumbing due to the water pressure adjustment. In some cases, wet drywall does not necessarily need to be replaced.
When Do I Call A Professional?
Anytime you are dealing with something related to your plumbing it is a good idea to reach out to a local master plumber. Often they can investigate your plumbing needs to determine what is causing the issue. Also, they have the tools and expertise to troubleshoot any issues with your plumbing. Additionally, call on your local home inspection team for a sewer scope. Consequently, they can recommend a reputable master plumber.
Conclusion
The moment you start noticing the water pressure is dropping in your home, you should look to the regulator. Making a couple of turns or twist of your water pressure regulator can adjust the water pressure to your liking. Keep in mind that there could also be something blocking your water flow and reducing the water pressure. Call on your local home inspection team to get your plumbing inspected and your water pressure regulator adjusted. Reach out to House Inspection Associates to conduct a full home inspection in the Virginia, D.C., and Maryland areas.