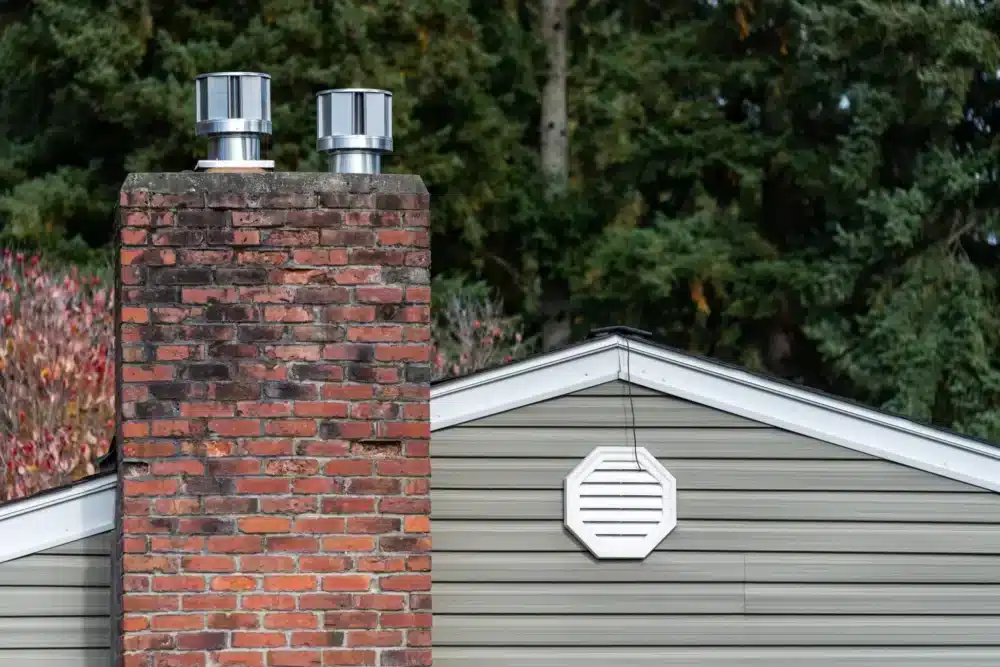
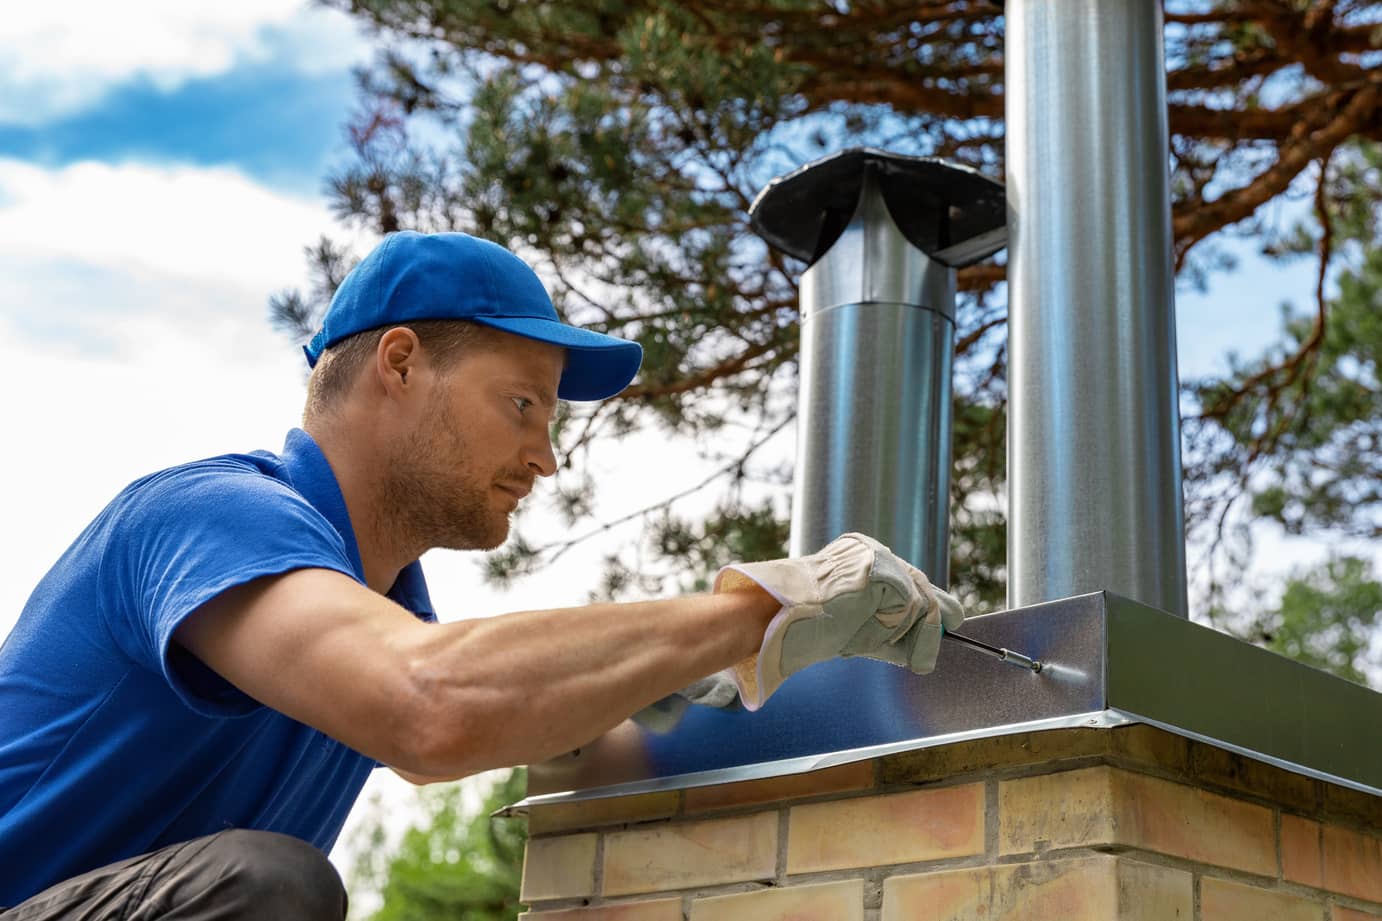
When it comes to owning a home with a fireplace, most homeowners would consider it a luxury. However, just because it is a luxury does not exempt it from needing the proper maintenance and upkeep. Just like your HVAC system and all other home systems, you will need to maintain your chimney. This includes your chimney liner. After a certain amount of time and use of your fireplace, you will likely need to replace the chimney liner. How to install a chimney liner? Inspect the chimney and determine what needs to be fixed. Follow the steps listed below.
Let’s take a look at some more information regarding a chimney liner.
What Is A Chimney Liner?
Chimney liner kits are the materials installed inside the inner workings of the chimney. They are meant to protect the home from any combustion products. The chimney liners are made of ceramic, clay tile, or metal. All of these materials are great at keeping heat out of the home. Doing this ensures that your wood framing doesn’t catch fire. Consequently, the main purpose is to keep the home safe from smoke and fire damage.
What Tools Do I Need?
All projects require some type of tools and materials. Let’s take a look below at what those are for this project.
- Drill
- Safety goggles
- Safety gloves
- Metal snippers
- Utility knife
- Caulk
- Caulk gun
- Grinder with a cutoff wheel

What Are The Steps For Installation?
Every project in your home requires a step-by-step process. Installation for a new chimney flue liner is not exempt from this. If you are planning to complete this project yourself, be sure to read the instructions for installation. Let’s take a look below at what the instructions are.
- Inspect the chimney – Inspecting the chimney allows you to determine the extent of any damage that has occurred in the chimney.
- Diameter liner and measurements – Measure from the top of the chimney to the area where the liner would need to stop. Also, add an extra 12″ so that you have some room to play. You can always cut out the excess material.
- Buy the chimney liner – Now that you have your measurements, you can go out and purchase the correct flexible steel liner.
- Flatten the liner – Using a level surface, flatten out the liner and hook up the bottom of the liner to the bottom connector. Next, you will attach a hose clamp to the connector. This will require a wrench.
- Apply insulation – Determine if you will use pour-in insulation or a blanket of insulation. If you choose a blanket, measure the circumference of the bottom termination. Then, multiply it by 3.14 and add 1″ for overage and sealing. Wrap the blanket insulation around the metal liner and tape the 1″ overlap over the liner to seal it.
- Spray adhesive, hose clamp, and foil tape – Use the spray adhesive to lock the insulation in place on the liner. Be sure to work in 12″ sections and use the foil tape to seal the insulation seams. Take the hose clamp and attach it to the bottom connector. Additionally, this will keep the mesh lining in place. Then, stretch the mesh over the top of the liner and secure it by tightening the hose clamp. Cut away any excess material with wire snippers.
- Use the rope – Depending on the type of liner you have purchased, a rope will be included. Attach the rope to the pulling cone or bottom connector. Additionally, this will allow you to pull the liner up through the chimney and position the liner at the bottom of the chimney interior.
- Position the bottom connector – Guide the liner through the chimney opening. Once you have it in the proper place you can connect the bottom of the liner to the chimney. Also, make sure to have an extra 4″ of material past the crown of the chimney.
- Seal the chimney crown – While one person is holding the liner in its center position, seal the chimney crown by using silicone caulk. Then put the top plate over the liner and press it down into the caulking. Consequently, this will create a good seal. Also, use the quick-connect clamp around the liner and securely tighten it in place with tap con screws.
- Attach the connector to the liner and tee snout – Using your metal snippers, cut a hole in the mesh and insulation. Do this at the bottom of the liner where you are connecting it to the tee body. Use the appliance connector to attach the liner to the bottom termination point.
How Much Does It Cost?
Chimney repairs and a chimney flue liner replacement can vary in cost. First, determine what is needed before you go out and hire a professional, or attempt to do the flue liner replacement yourself. The national average is $2,500 for a new clay chimney flue liner. However, major repairs to the chimney could end up costing you up to $7,000. To keep costs down, use an aluminum or stainless steel liner. This will cost you about $625.
Other Recommended Maintenance
Now that you know about installing a chimney liner, let’s look at a few other maintenance areas. One of those is chimney fires. A chimney fire won’t burn itself out so you need to make sure you call 911, turn off the fuel, and spray it down to name a few. Even if you extinguish the fire, contact the fire department to make sure it is completely out.
Next, when you own a home that has a fireplace and chimney, it is important to know how they work. A chimney has flashing that secures and seals the chimney to the roof of the home. Also, it keeps water from between the roof and the chimney.
Lastly, it is important that if you have a clogged chimney you clean it out. To do this, you can use a brush that is safe for the flue and sweep away debris.

When Do I Call A Professional?
Regarding fireplace and chimney repair or maintenance, it is a great idea to call on a fireplace inspector. The Chimney Safety Institute of America trains local professionals on how to properly inspect a chimney and fireplace. Also, consider using one of these inspectors if you are remodeling your home. They are educated on the fire codes in your state. Additionally, reach out to your local home inspection team for a roof inspection. Consequently, they can determine if there is any roof or chimney damage that needs to be addressed.
Conclusion
Having a fireplace in your home can be a great amenity. Keep in mind that maintaining the fireplace and the chimney is critical for protecting your home. Getting a roof and chimney inspection done once a year is a great way to ensure that the chimney is intact and does not need any repairs. Maintaining the chimney ensures that your home will not sustain any major damage or catch fire. Call on House Inspection Associates to conduct a full home inspection in the Virginia, D.C., and Maryland areas.


